Route 66 Foot Pegs
|
I
needed a cool set of foot pegs for the Route 66 Chopper project
that I'm building and decided to cast a set out of aluminum and
I know that there are a lot of people out there that really get
into this stuff so let's see what it really takes to get the job
done and don't worry, you'll get to see it all from start to finish
! There are a lot of steps involved and it's a little time consuming
and can get pricey but that's what it's all about ! This isn't a
"catalog custom" we're building here, it's a "one
off" and yes I know, you could blow these out on a water jet
and mill the ends on a cnc milling machine in no time but anyone
can do that, this is old school baby ! People have been casting
metal for over 4,000 years ! ! !
|
|
---
|
|
I
started out by drawing the shape onto a piece of poster board but
you could print one right off of the computer. This template will
become the profile of the extruded foam that i will cut using my
hot wire cutter.
|
|
I
took a few minutes and bent up some heavy mechanics wire to match
the shape of the template that I made. I will attach this mechanics
wire to the table of the hot wire cutter and setup a back stop to
make the cut. Take your time and try to get the bends as smooth
as possible because the smoother the wire is, the nicer your foam
part will be otherwise you'll be spending some time sanding it down.
|
|
|
|
---
|
|
|
|
Once
I get the shape to where I want it I face the ends with some 180
grit d.a. paper on a sanding block which also squares the end as
well as gives me a nice surface to add the mounting boss and the
resin cast detail on the end of the peg. I'll get more into that
in the next section...
|
|
|
|
---
|
|
|
|
As you
can see in the picture above, I added the foot peg mounting boss
with a drop of Elmer's glue.
|
|
|
|
---
|
|
|
|
Creating
a "shell" mold
|
|
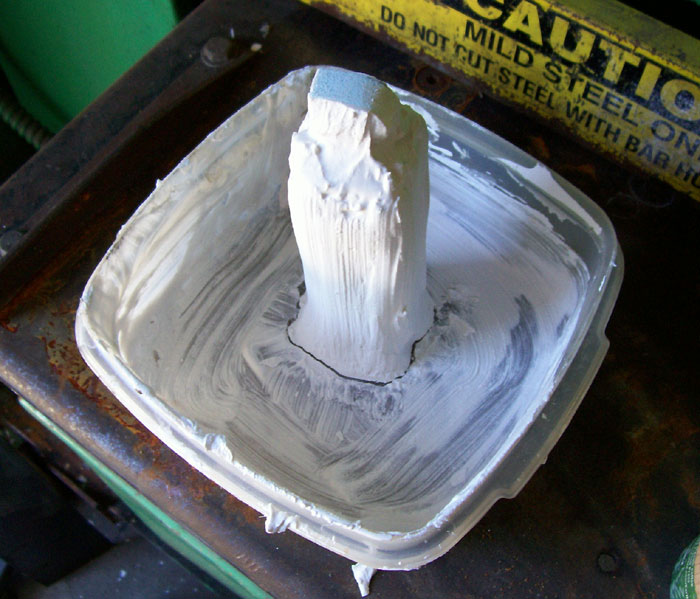
The
foam pattern is now covered in plaster (or you can use drywall texture
mix which works really well also) Once the shell is dry it will
be placed in a coffee can then filled with sand and gently rammed
to firmly hold the mold in place while I pour the metal.
|
 |
|
The
part that I am casting will not be the actual part but will be a
solid model for the finished product as I will be adding further
detail to it in the next phase.
|
|
The
finished mold will be a "Lost Wax" method with "Ceramic
Investment" that will be dipped once a day for a week before
firing at 1,400 degrees.
|
|
Coming
up !
|
|
Adding
detail to the plaster model !
|
|
I
will be adding pictures as this project progresses. -Hank
|
|
|
|
© 2013 WhosYaDaddy.com |
